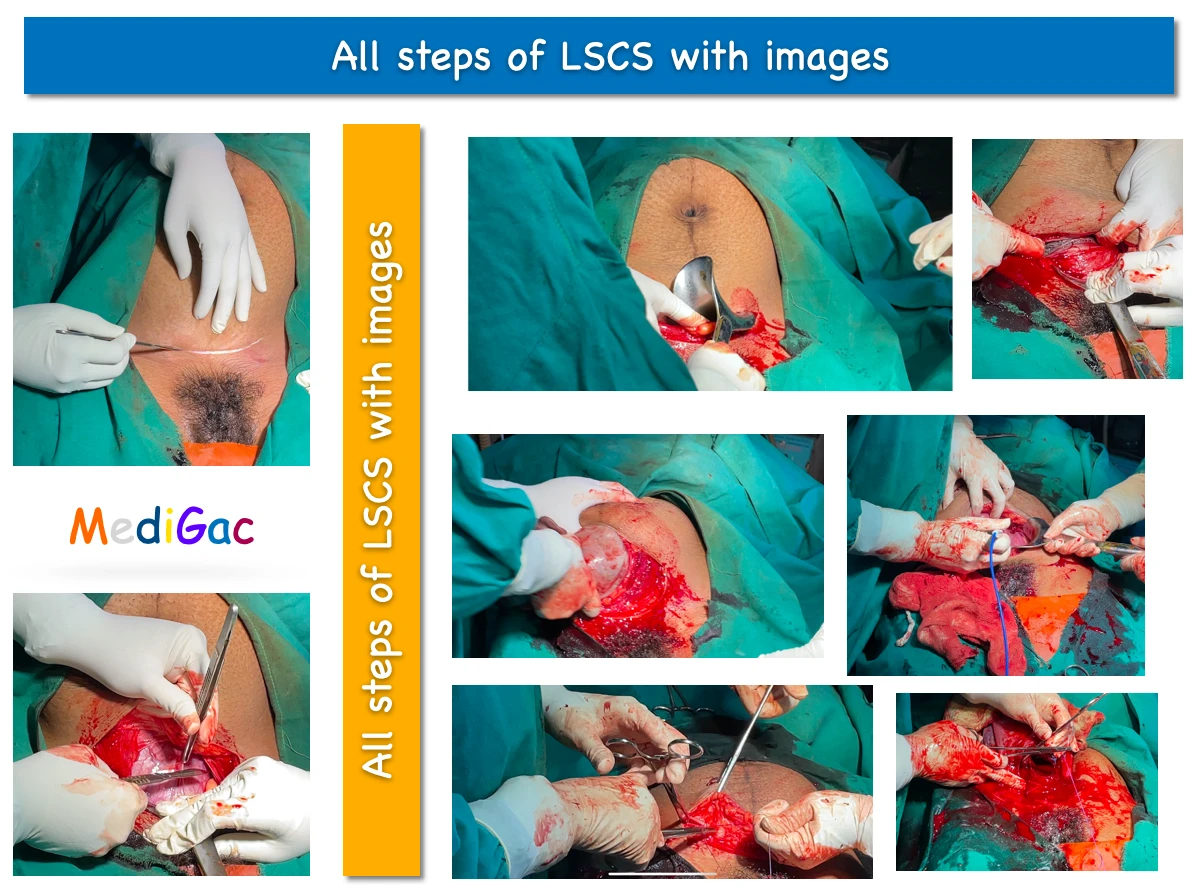
Here we have discussed the steps of Lower section uterine caesarean section(LSCS or LUCS). We have discussed these topic by using detailed image collection and brief theory about the surgery.
Some basics preparations are done before the patient goes cooperation theatre :
- OT dress is given.
- Any ornaments should be removed from body.
- IV fluid is given.
- Catheterisation is done.
- Ceftriaxone skin test is done.
1. Antiseptic dressing and draping :
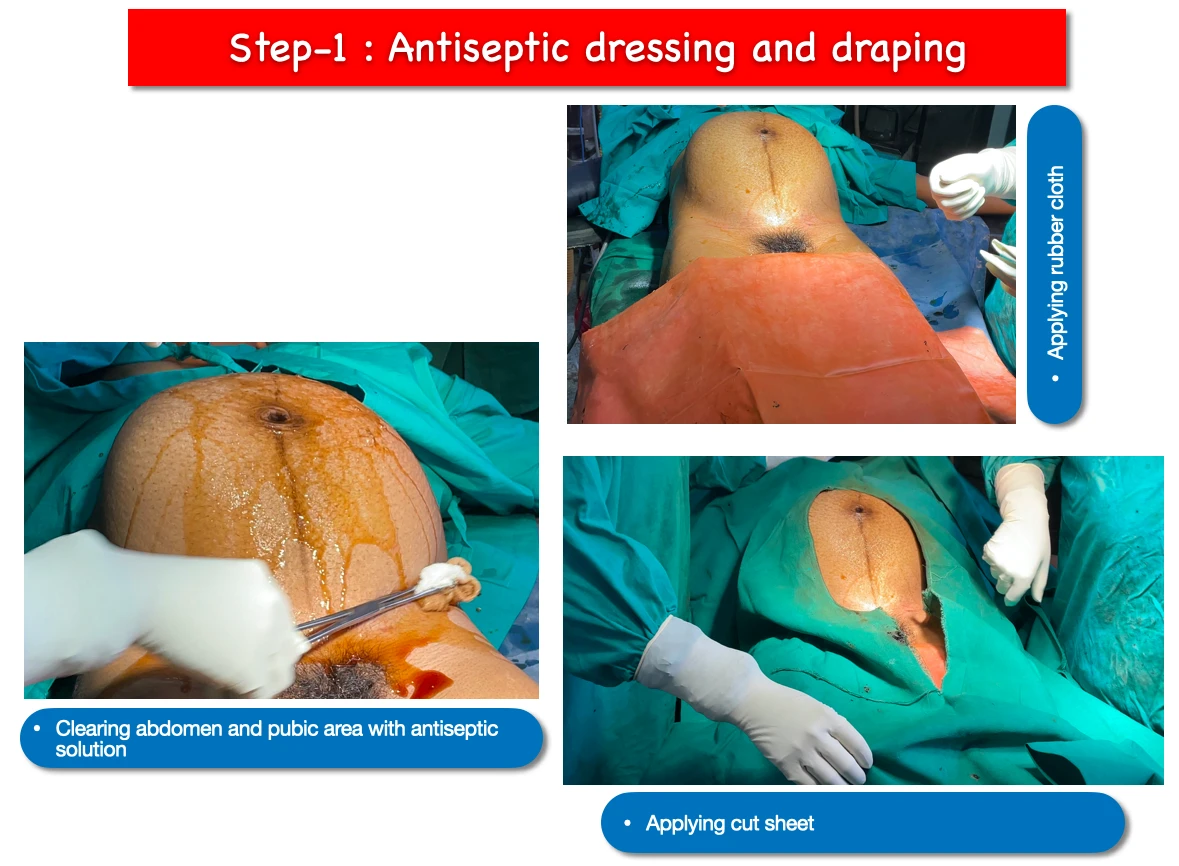
- At first the abdomen is cleared with povidone iodine solution(dressing) and later savlon solution. Then Rubber cloth is applied over the lower limb. And finally cut sheet is applied over the whole body. This whole process is known as Antiseptic dressing and draping.
- Main purpose of this step is to sterilise the skin as much as possible and processing the surgery in more sterilise manner.
2. Abdominal incision :
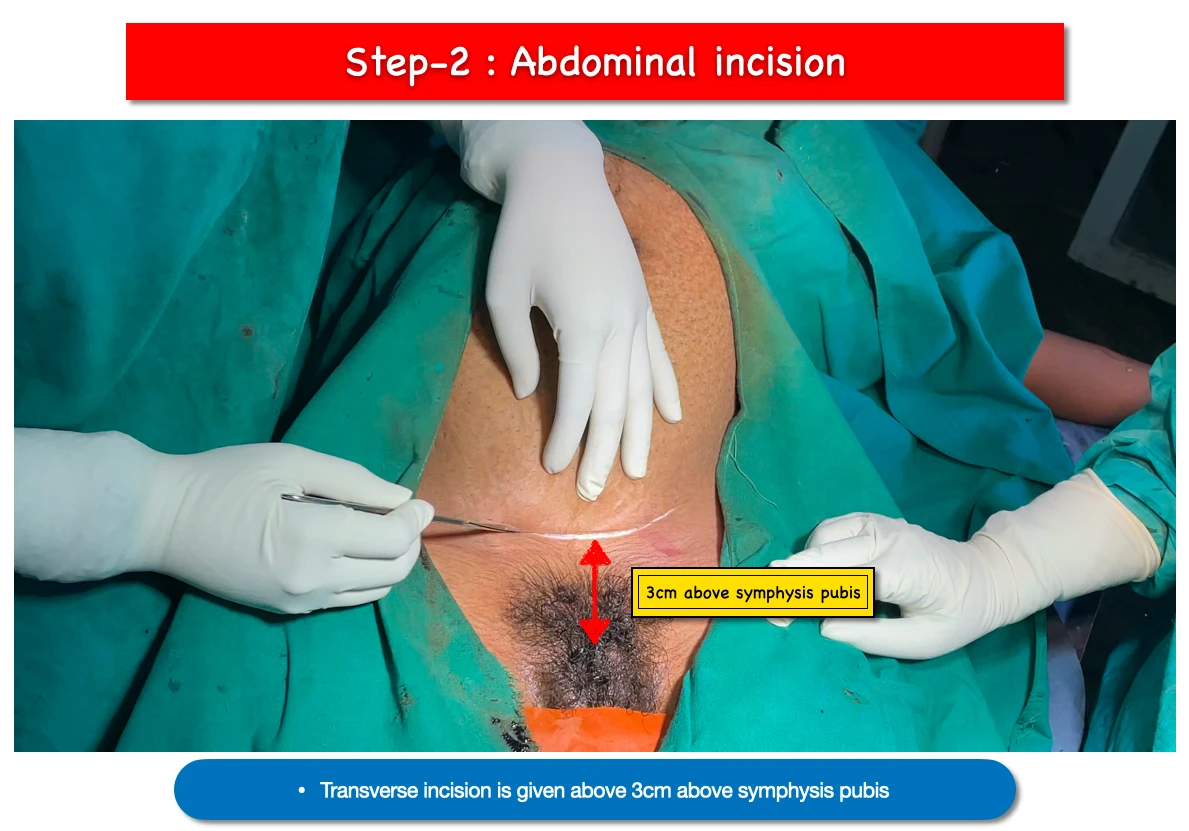
- Transverse incision is given above 3cm from pubis symphysis. This incision is known as Pfannenstiel incision.
- Skin and subcutaneous tissues are incised to reach the rectus sheath.
3. Rectus sheath incision :

- At first sharp incision is given to rectus sheath transversely.
- Then with the help of fingers blunt dissection is done to extend the rectus sheath incision.
4. Rectus muscles retraction :
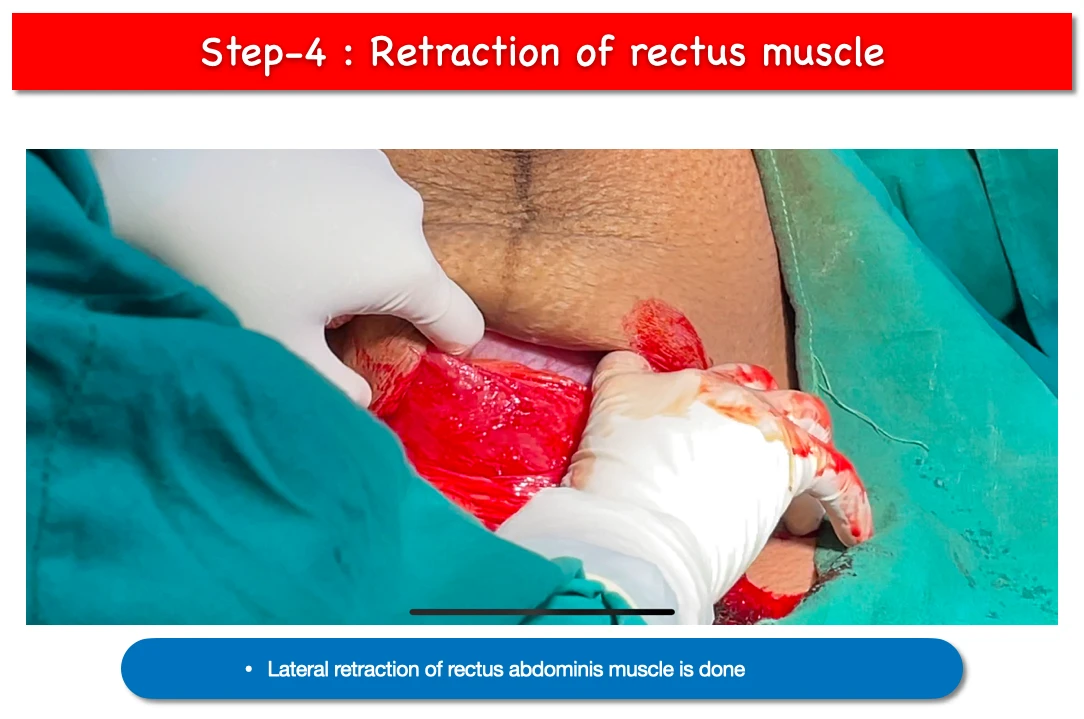
- Rectus muscle that is Rectus abdominis is retracted laterally.
- Then we have to dissect Trasversali fascia with preperitoneal fat to reach the abdominal cavity.
- After doing this step, the abdomen cavity gets opened.
5. Entry inside abdomen :
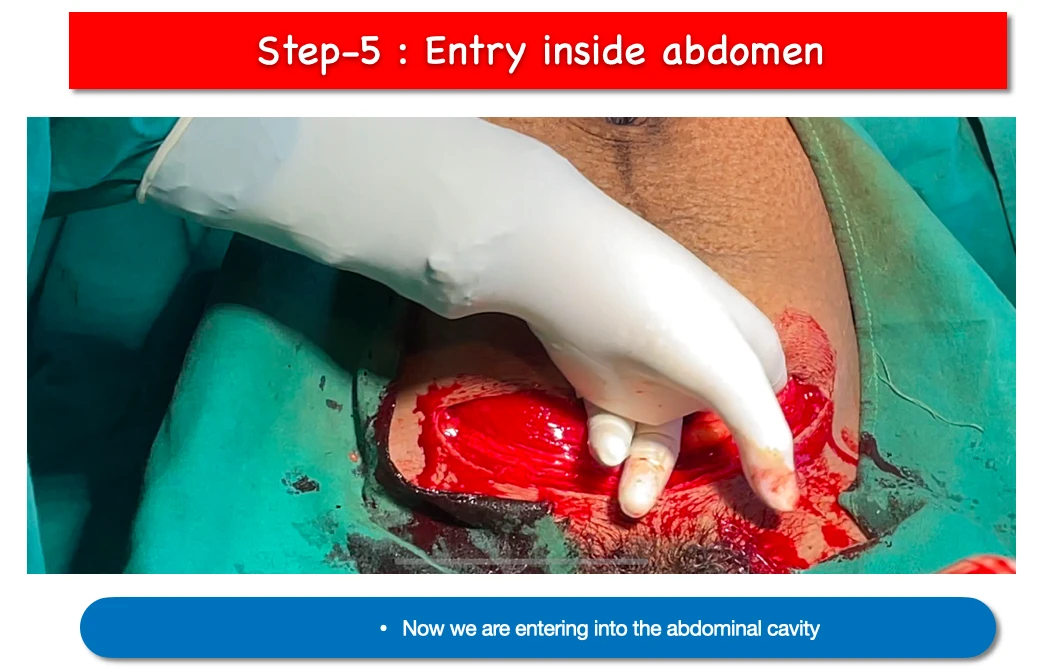
- At this stage we get access to abdominal cavity.
6. Applying Doyen’s retractor :
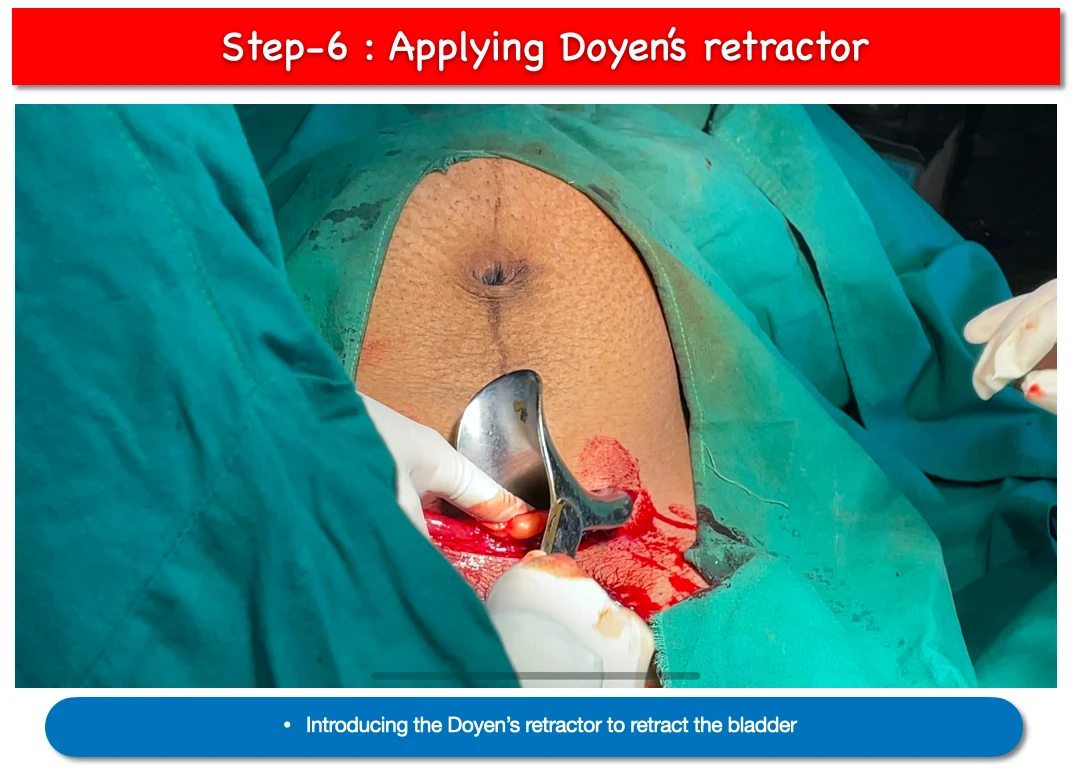
- Now doyen’s retractor is applied to the lower cut margin of abdominal wound.
- Main purpose of applying the doyen’s retractor are retract the bladder and making a clear view of the uterus.
7. Identification of LUCS area :
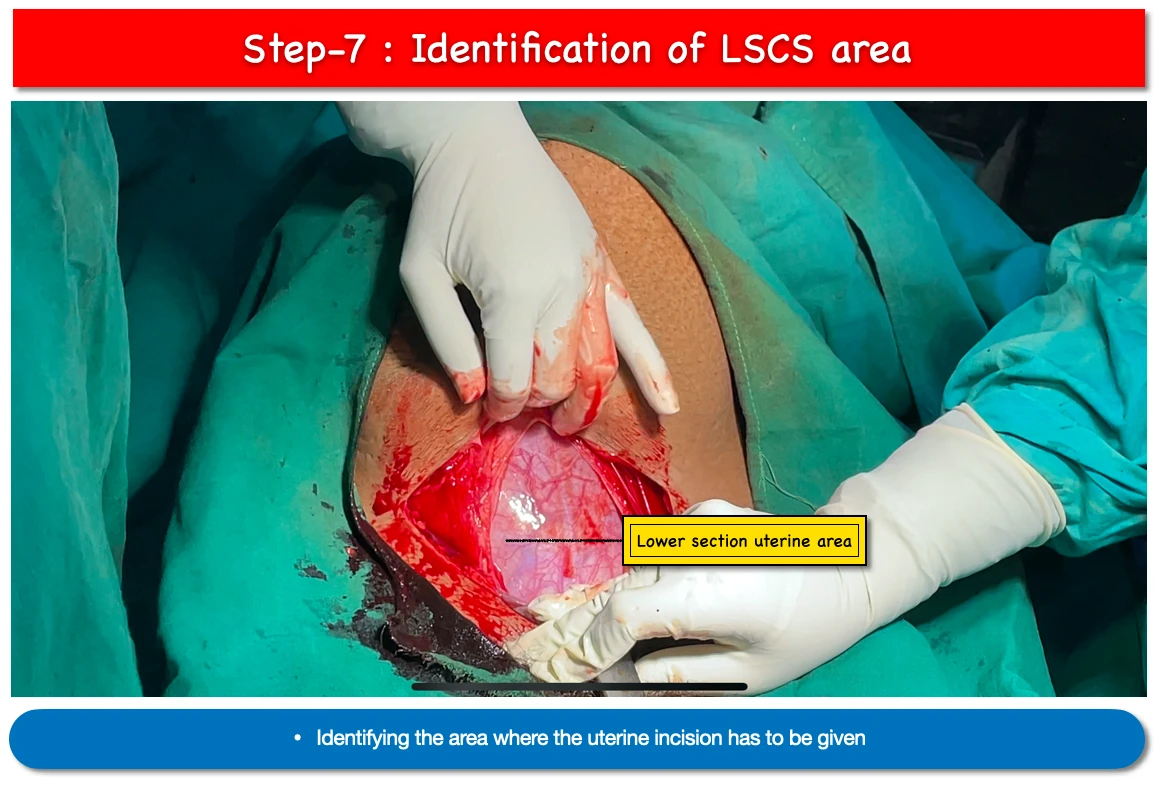
- The presence of loose peritoneum in the lower section of the uterus and above the upper bladder edge indicates the presence of the lower uterine segment.
8. Holding loose peritoneum incision :
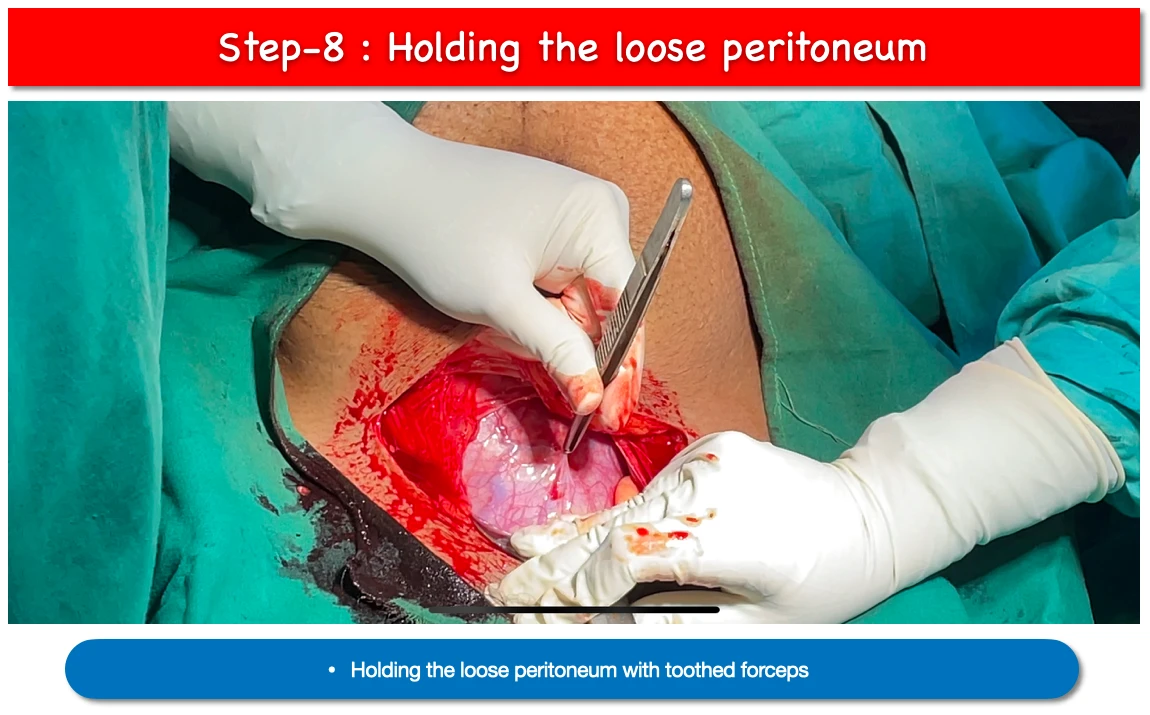
- First we have to hold the loose periotoneal layer with toothed forceps.
9. Incision of loose peritoneum :
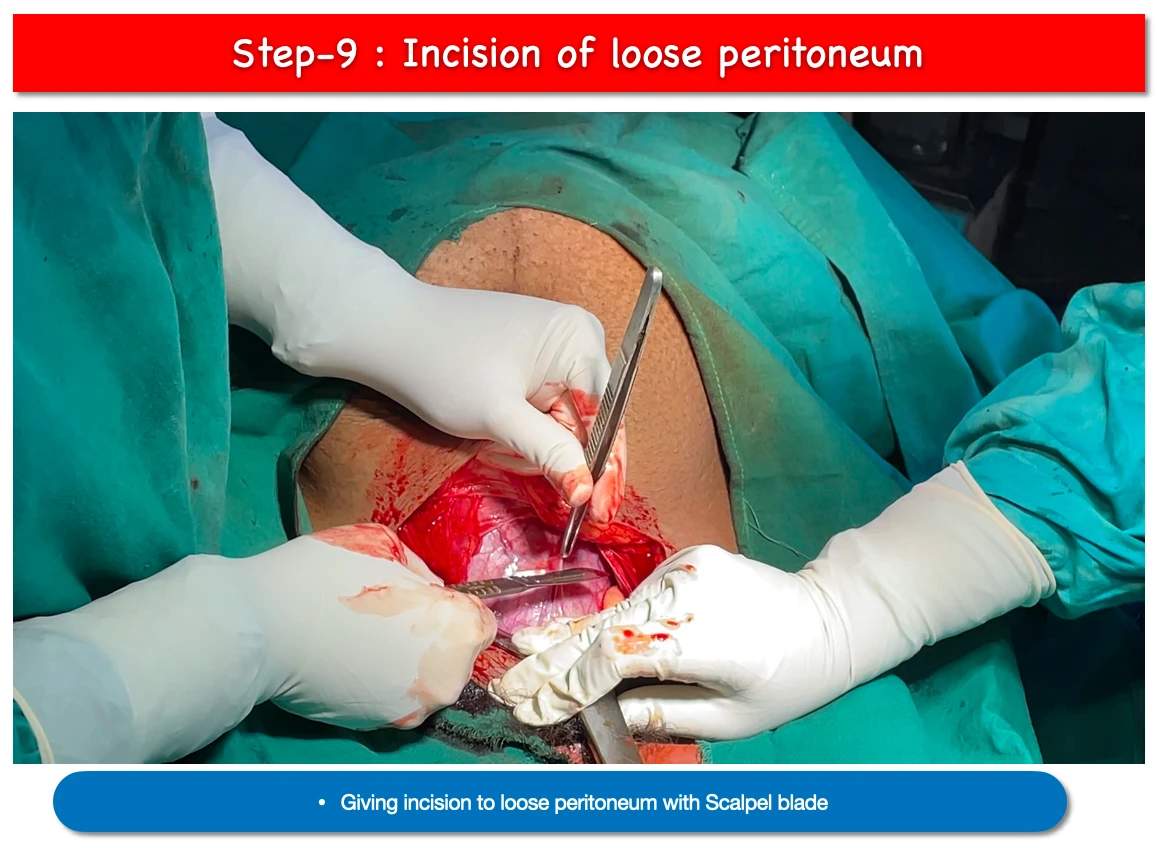
- After loose peritoneum has been separated from the myometrium for about 2 cm in width, it is gripped and incised transversely with a knife or scissors.
10. Blunt dissection of loose peritoneum :
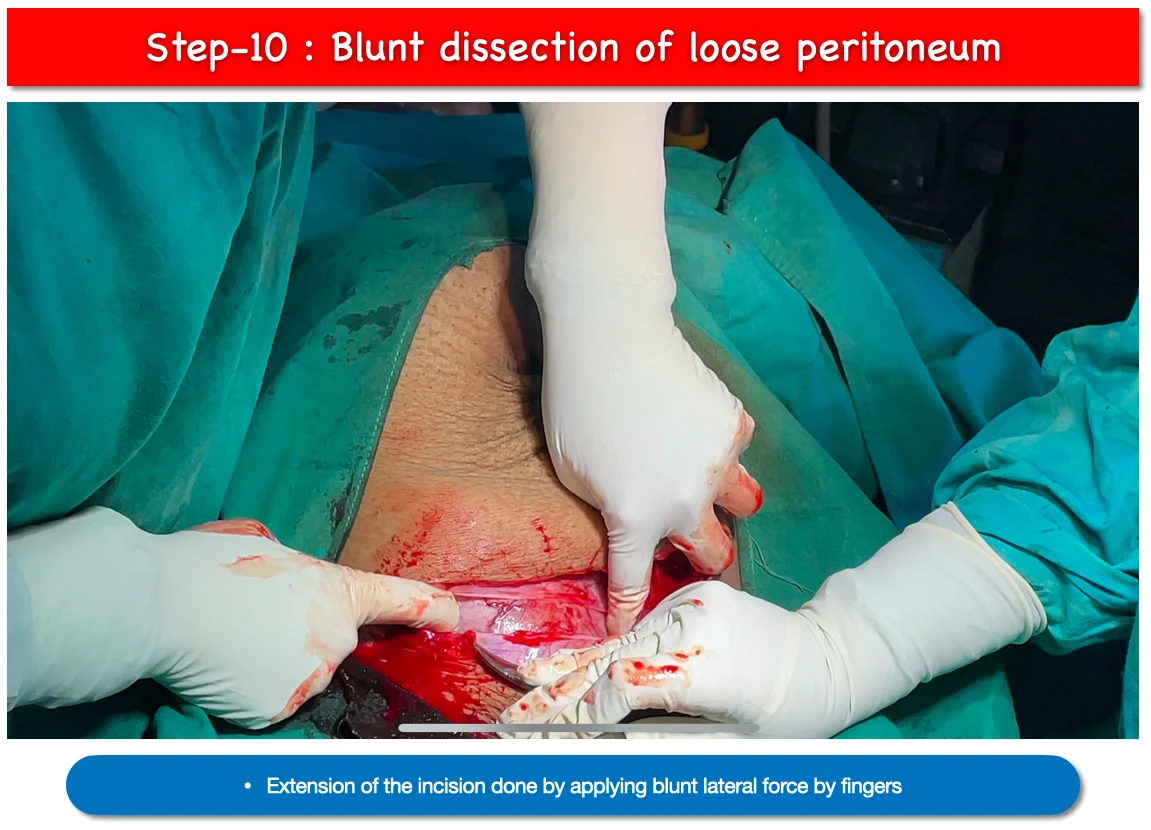
- By applying blunt lateral force we extend the incision sightly upwards for about 10cm.
11.Uterine wall Incision :
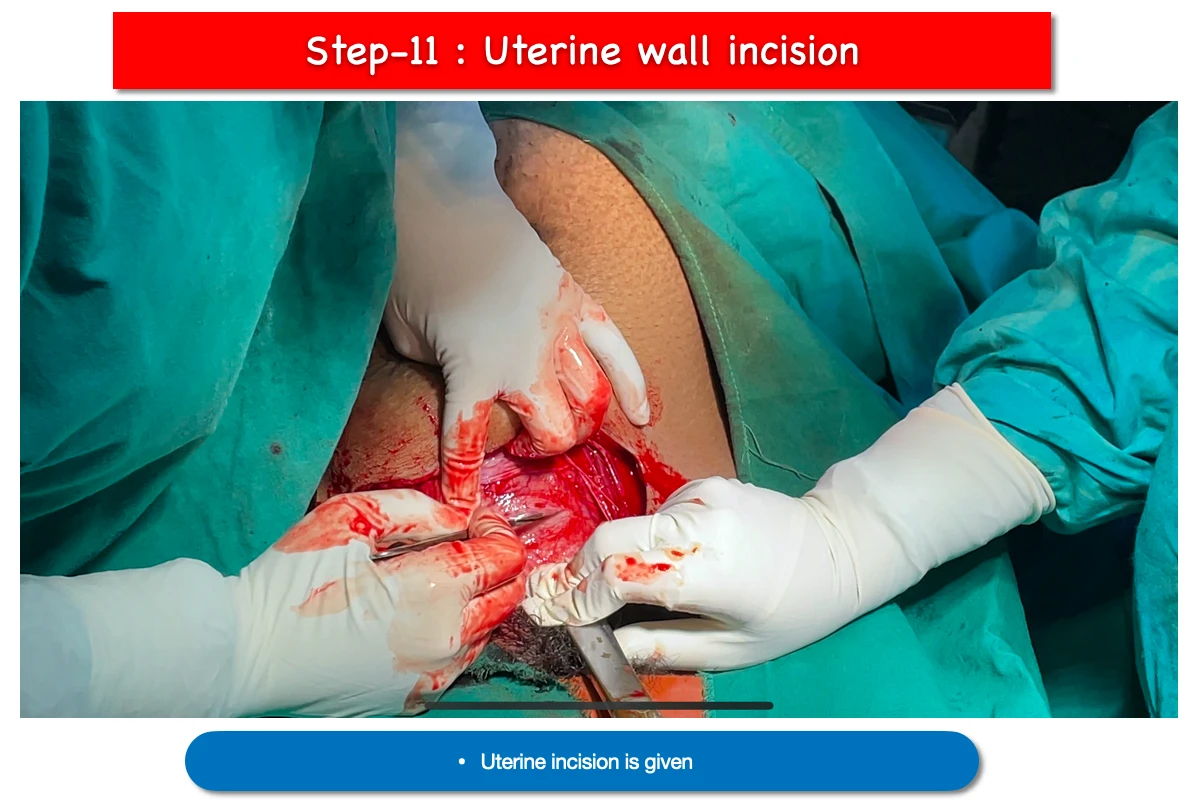
- In order to visualise the membranes, a small transverse incision is made on the uterine wall along the midline using a scalpel, being careful not to harm the developing foetus.
12. Extension of uterine wall Incision :
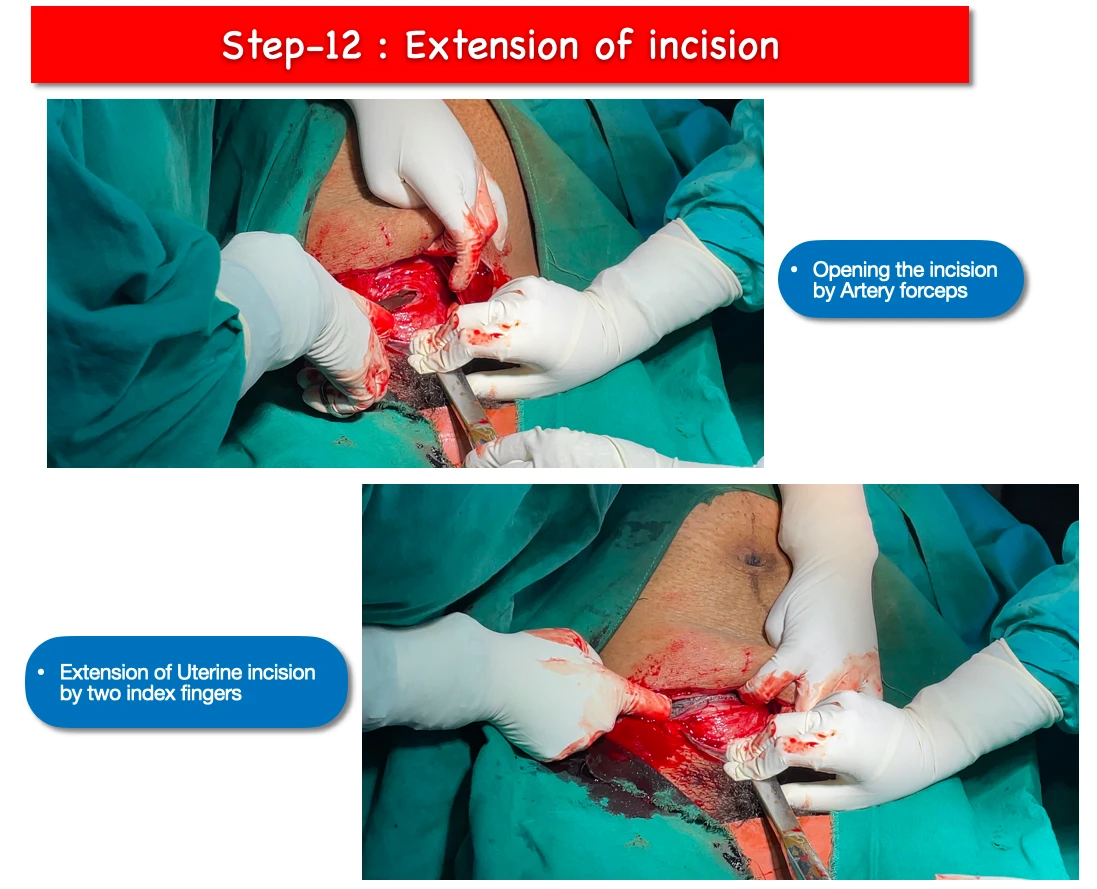
- The uterine wound is opened up by applying artery forcceps.
- And the two index fingers are inserted within, and extended laterally.
- Membranes are ruptured and amniotic fluid is allowed to drain.
13. Foetal head delivery :
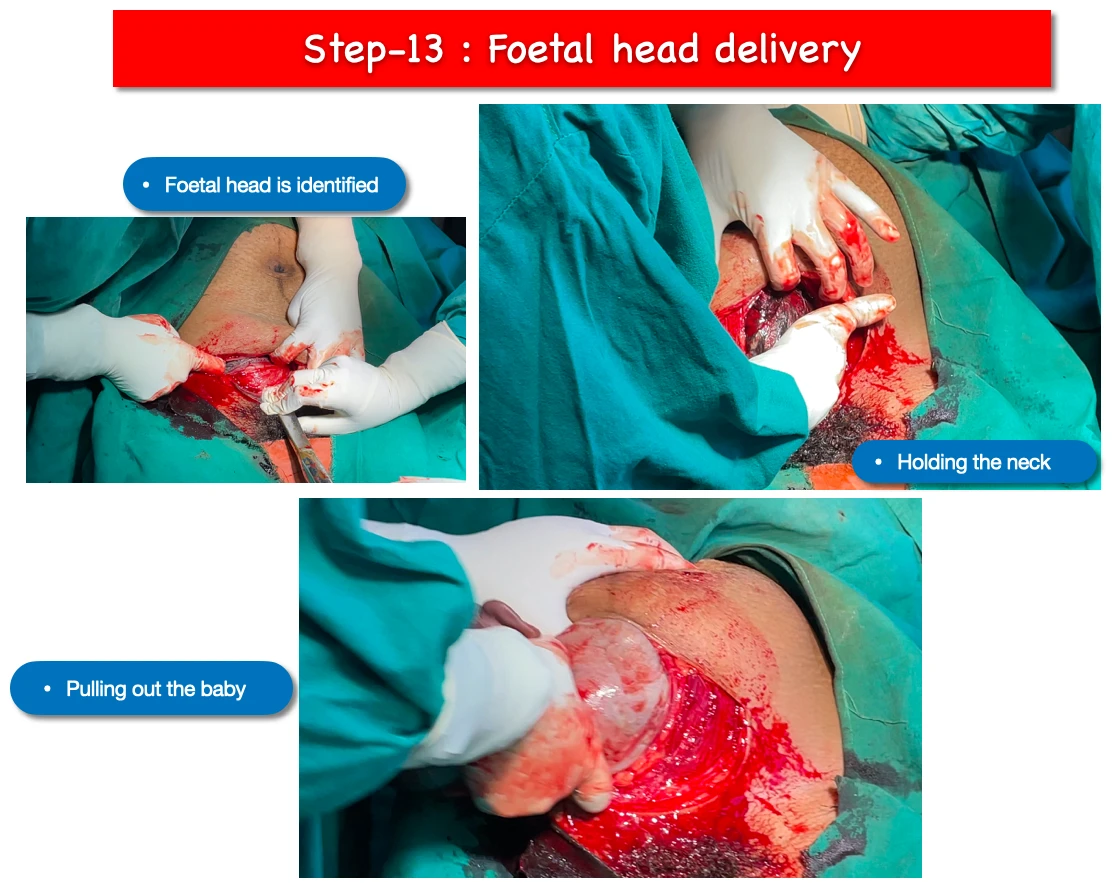
- At first foetal head is identified.
- The neck of the baby is hold with the help of dominant hand fingers.
- Doyen’s retractor is removed by the assistant.
- And finally baby is pulled out by hooking the fingers. Sometimes fundal pressure also given.
14. Cord clamping and cutting :
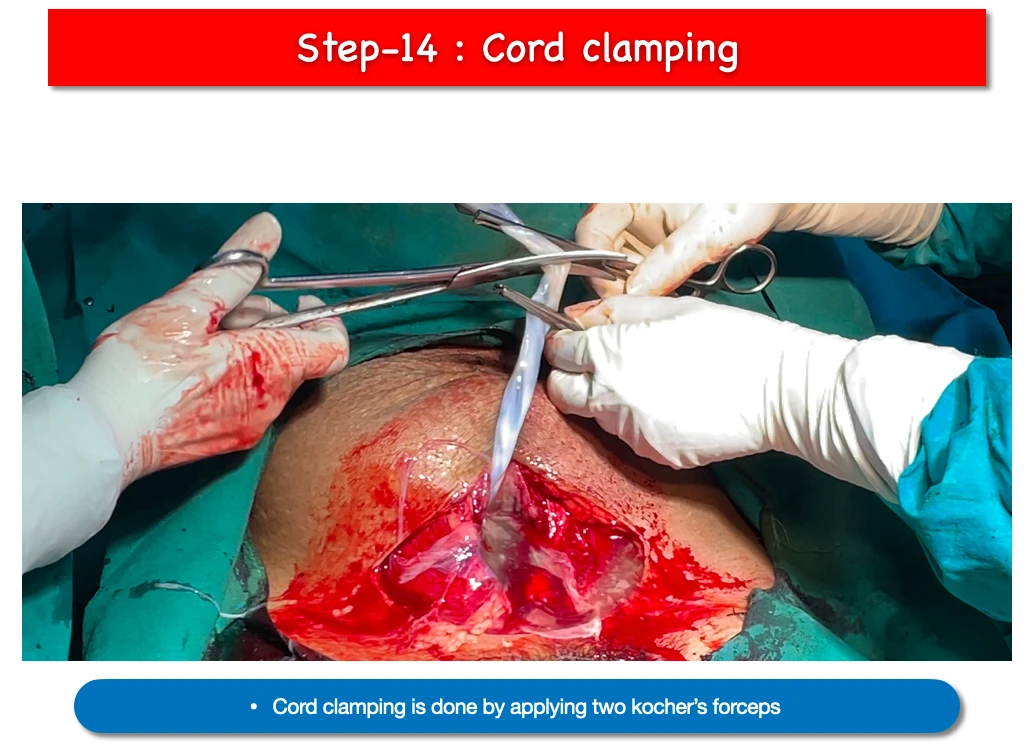
- Cord clamping is done by applying two Kocher’s forceps, squeezing the in-between part and cutting with Scissor.
15. Placenta removal :
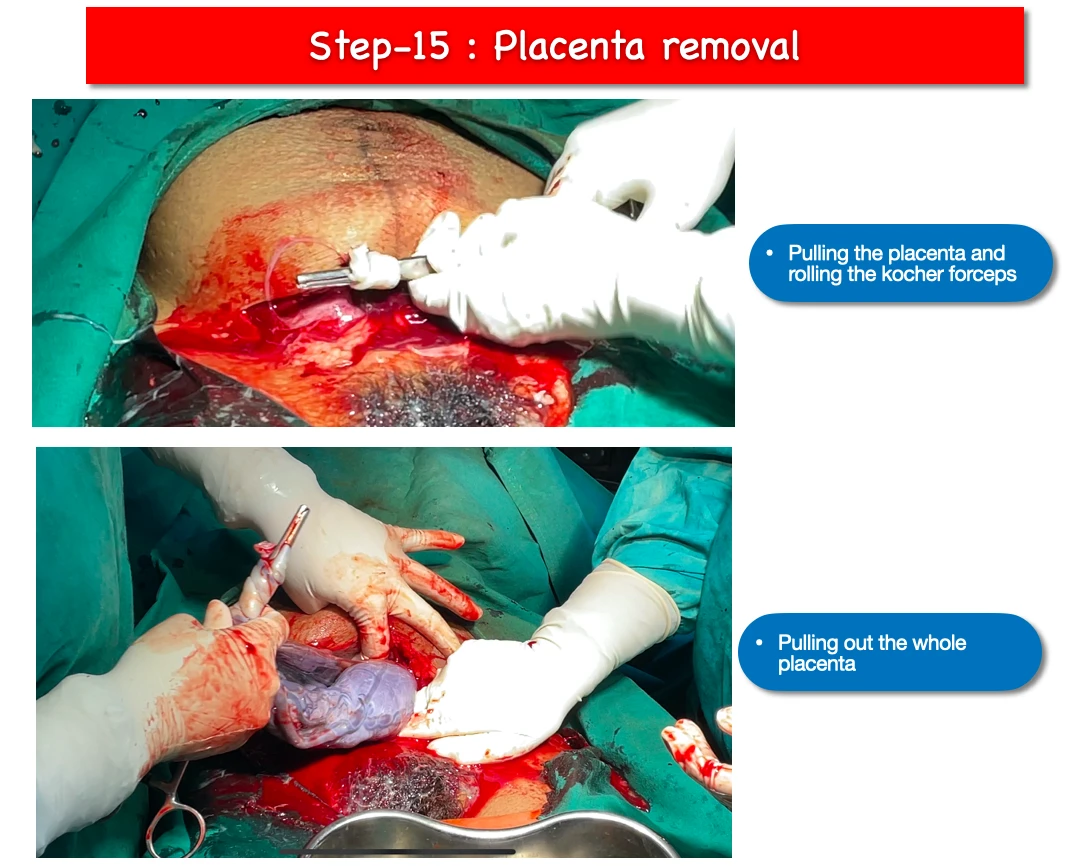
- During pulling out the placenta, remaining cord should be twisted around the Kocher’s forceps and further we have to pull out slowly.
- And after pulling out slowly finally it gets out from the uterus.
16. Cleaning the uterus :
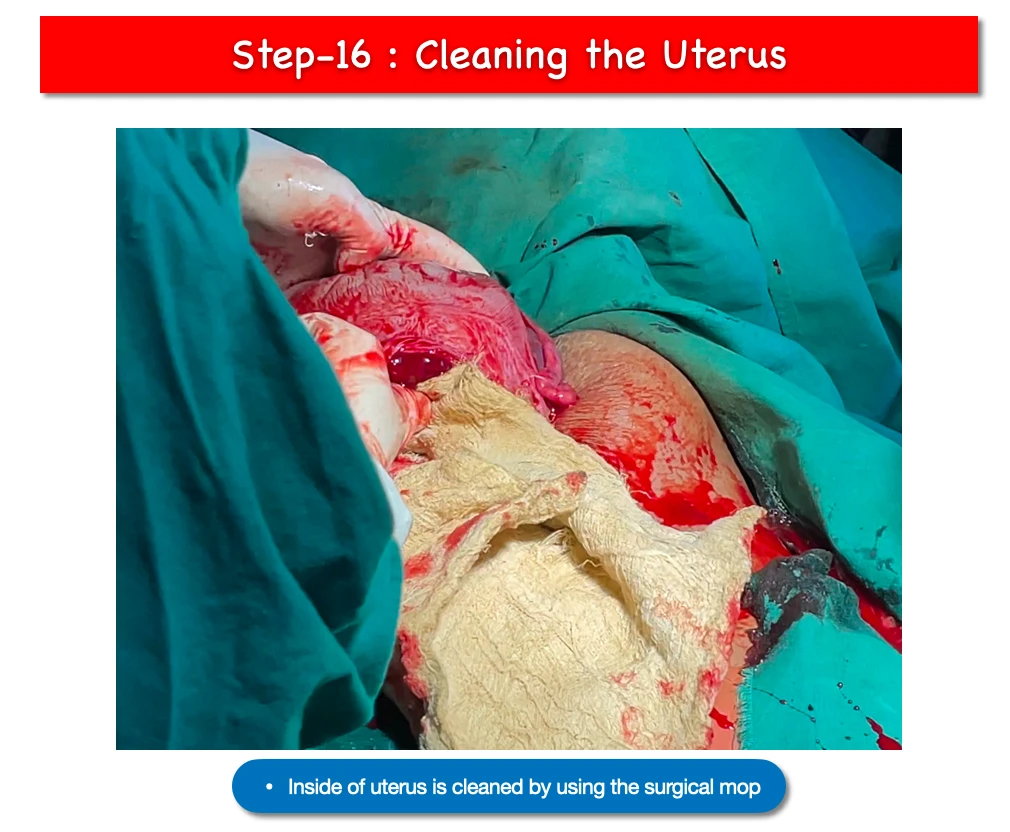
- Any blood clot, remainining bit of placenta, and blood should be cleared off from the uterus.
17. Holding the margins of uterine wound :
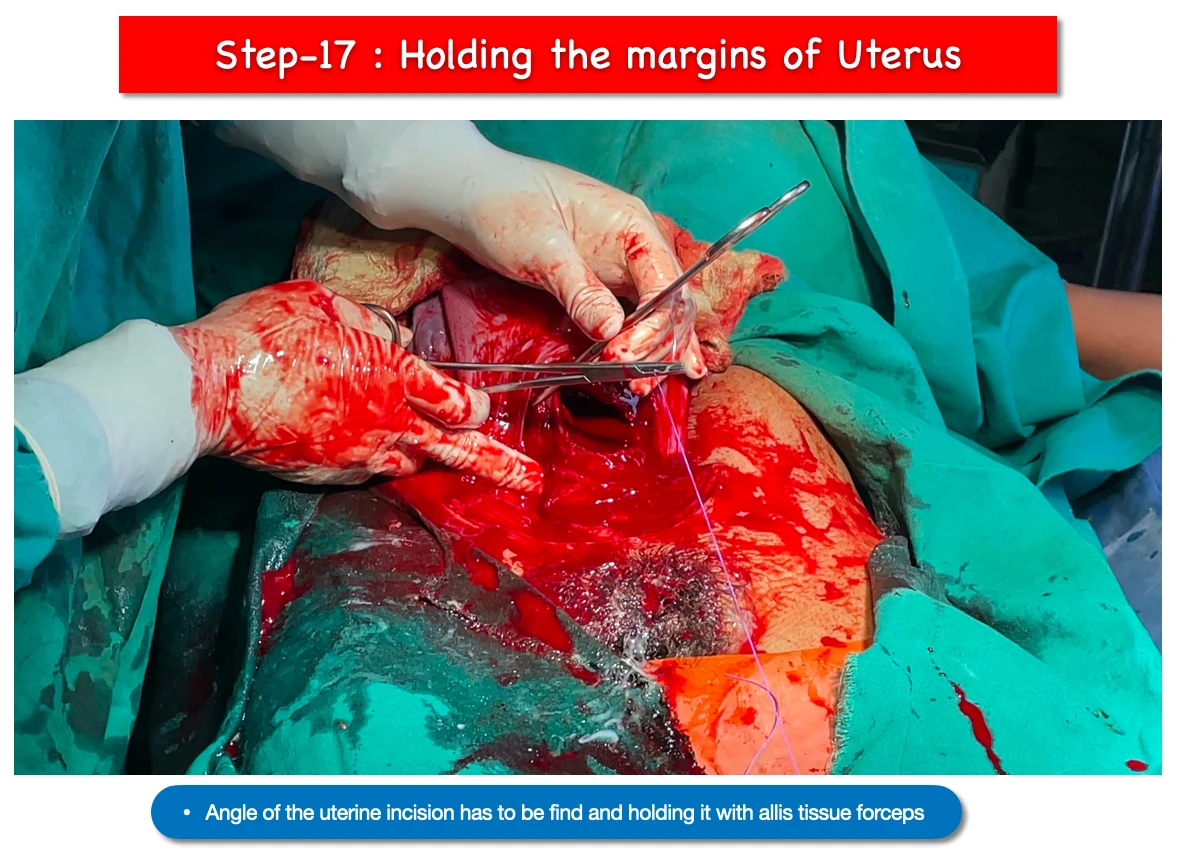
- We have to hold the angle of the wound with allis tissue forceps.
18. Uterine wound repair :
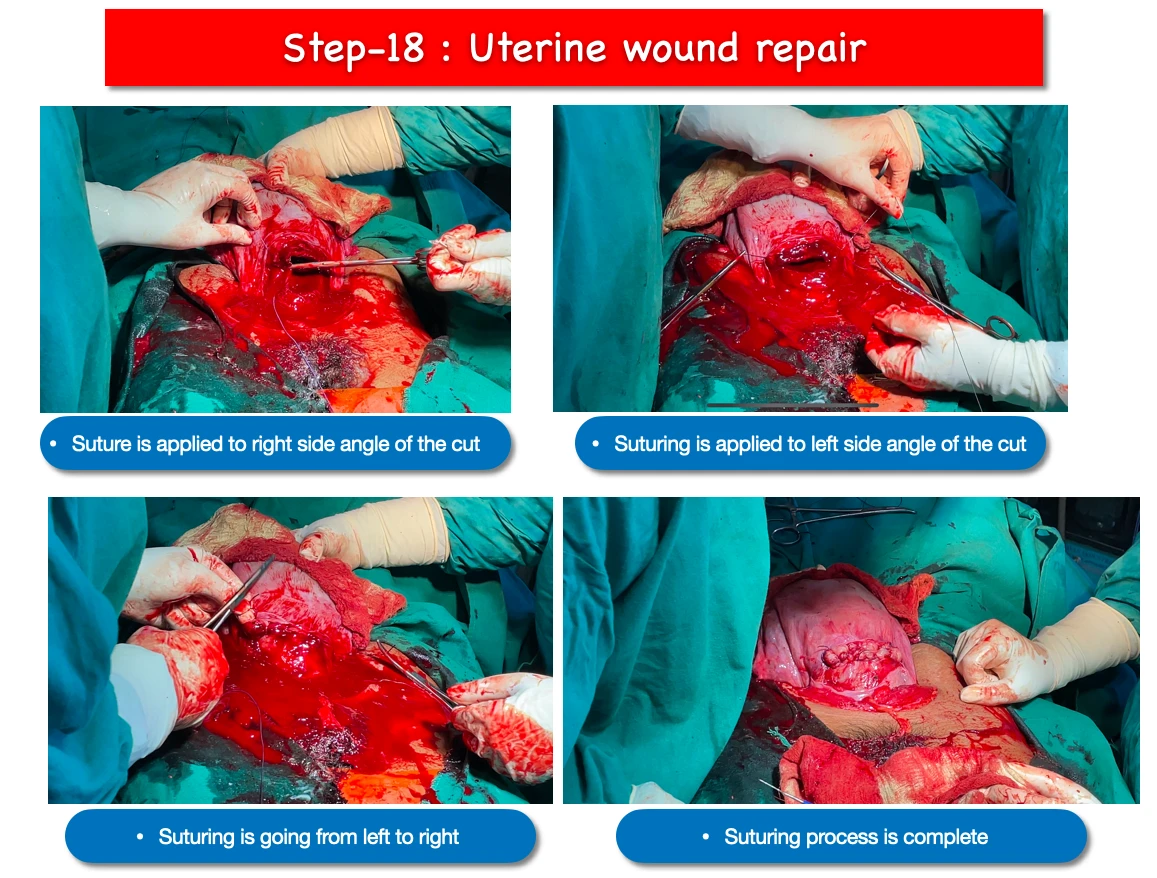
- Suture is applied to repair the angle. In this surgery we first applied suture to right side angle of the cut.
- Then we have the suture the left side angle of the cut, and further continuation of the suturing from left to right side.
- And then another cross suture applied from right to left side.
- And finally the wound gets repaired.
19. Introduction of Doyen’s retractor :
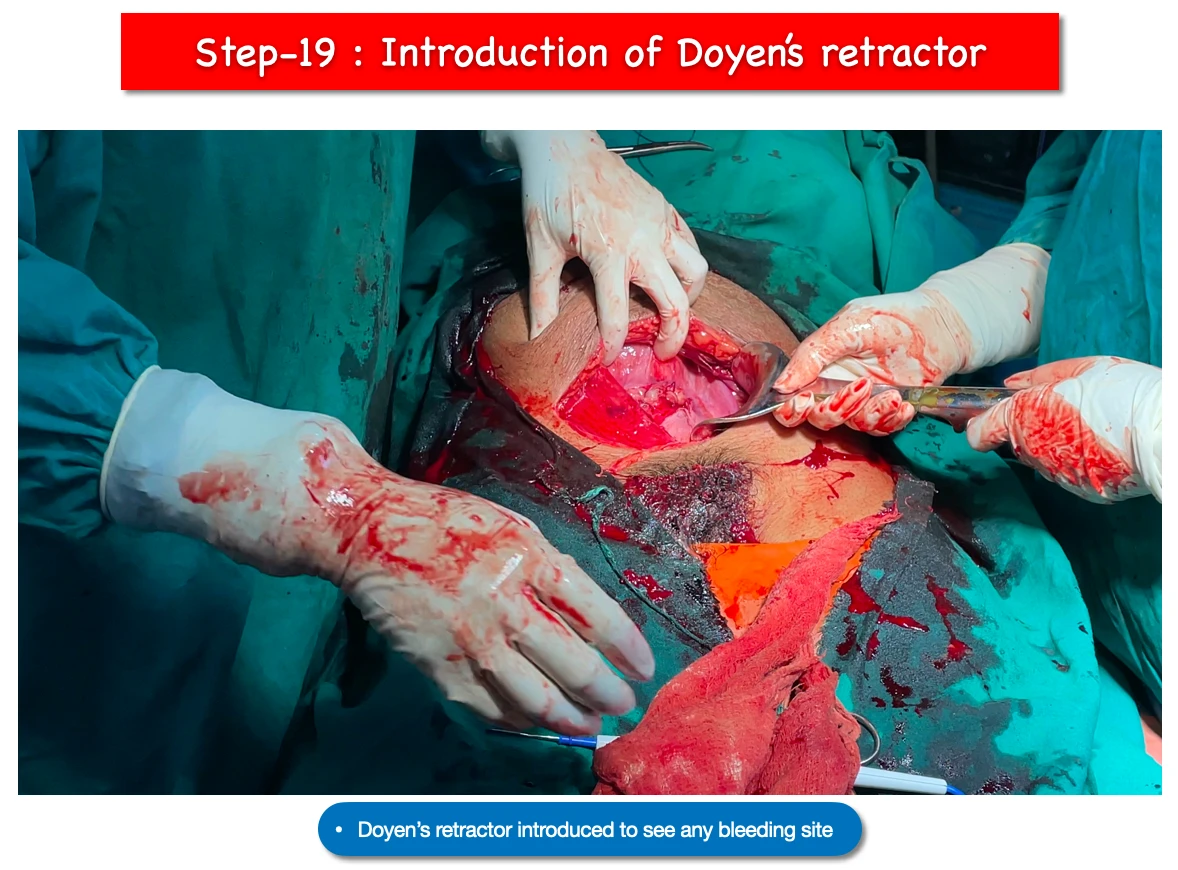
- Again Doyen’s retractor is applied to check any bleeding site is there around the sutured wound.
20. Checking any bleeding :
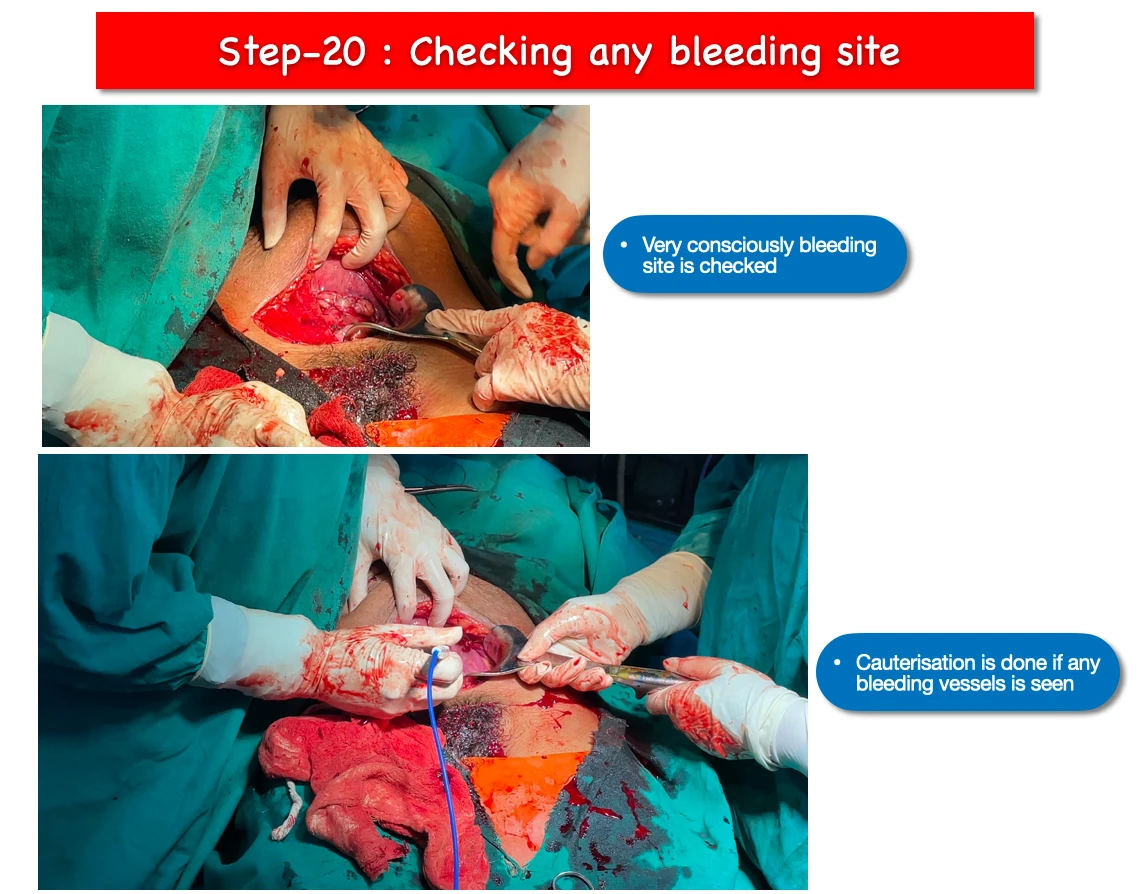
- If any bleeding site is found, we apply cautery to stop the bleeding.
- Sometimes we have to apply various types of suture technique to stop bleeding. Suture techniques like box suture, figure of eight etc.
- Even if the bleeding does not stop after all these steps, finally we process to clamp the uterine artery with absorbable suture.
21. Removal of Doyen’s retractor :
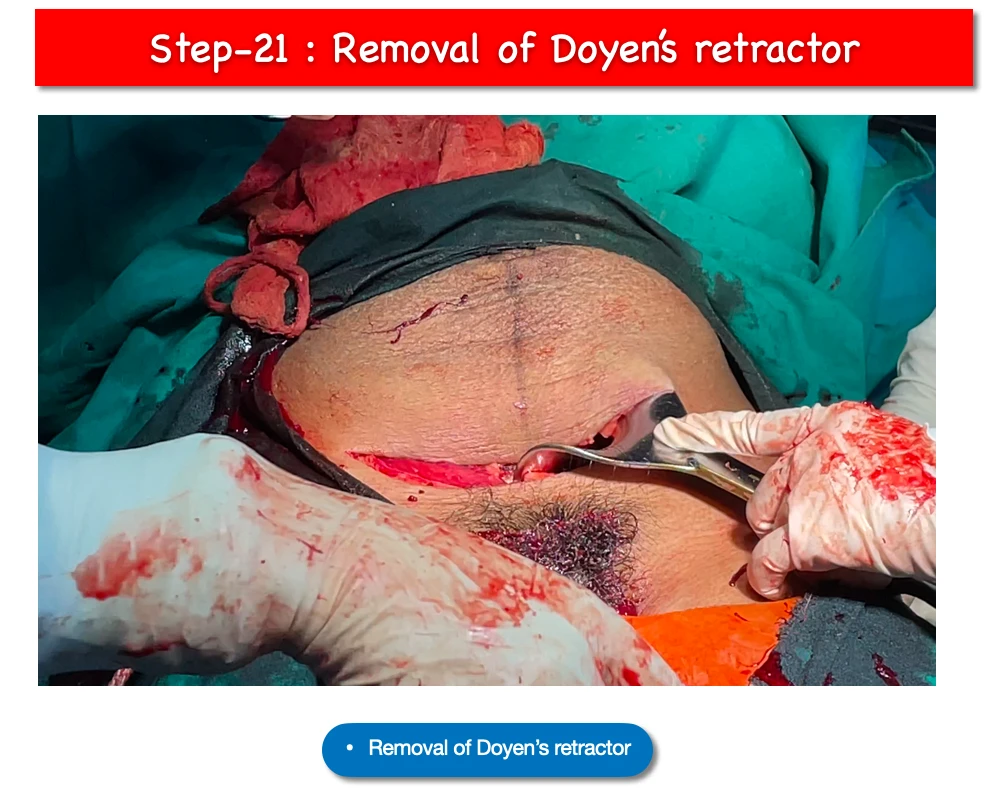
- After all this, when we think that no active bleeding is occurring and everything is okay, Doyen’s retractor is pulled out.
22. Suturing of rectus sheath :

- Absorbable suture is applied to the rectus sheath.
23. Skin closure :
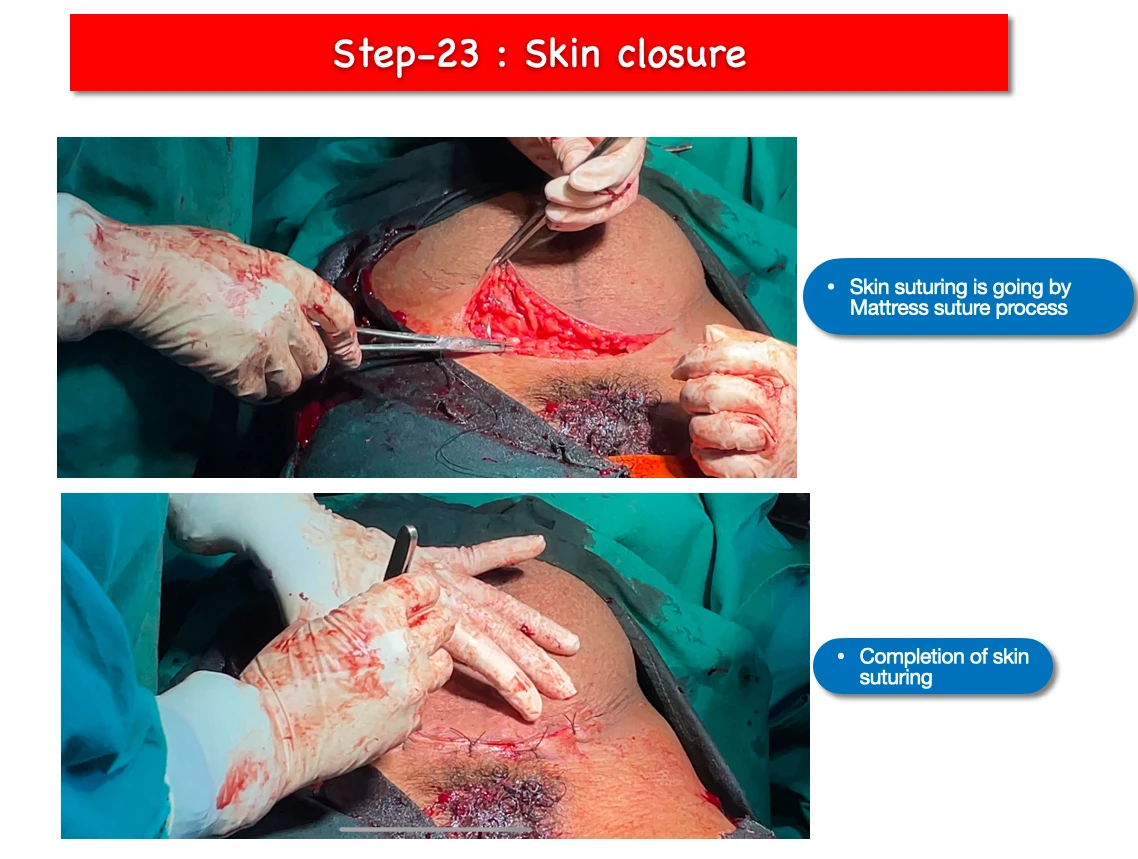
- Finally mattress type of suturing technique is applied to suture the abdominal skin.
24. Vaginal toileting :
- With bowl of savlon and a gauge piece with clear the inside the vagina.
25. Suture cleaning :
- Wet gauge piece with methyl alcohol with clear the skin sutured area.
26. Covering the suture :
- With gauge pieces we cover the skin sutured area.